If you're building automations in SmartSuite, you are going to love their trigger that allows you to initiate automations based on a schedule. In this post, we're going to be diving deep into this powerful SmartSuite automation trigger. So if that's of interest, stick around and let's get into it!
Accessing Automations in SmartSuite
Here I am in my SmartSuite solution. To access automations, simply scroll up to the solution menu and click on "Automations".
Feel free to follow along with me in your own SmartSuite account. If you don't already have one, please consider signing up using our link below. That will be a great way for you to show some love back to the channel.
Once you click into Automations, it will take you to the automations dashboard. If you've already created automations, you will see them listed here. If you haven't created any yet, you'll see a dropdown prompting you to create your first automation.

Setting Up the Scheduled Time Trigger
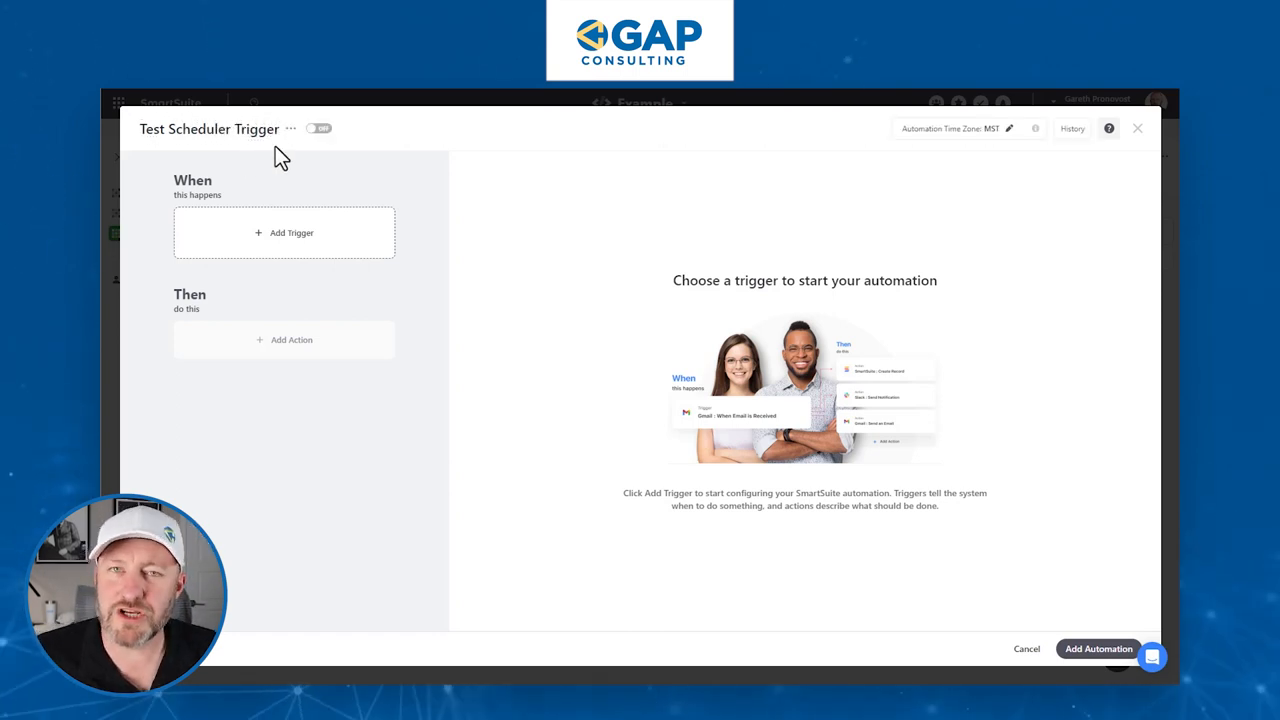
Inside the automation builder, the first thing you might want to do is rename your automation. I'll call this one "Test the Scheduler Trigger". It's important, especially if you're new to automation, to make sure you're labeling things appropriately so you can come back and find them easily in the future if you need to make changes.
Now, every automation breaks down into two key components:
- The Trigger - This initiates the automation and provides the instructions for when it should start.
- The Action Steps - These are performed after the trigger and make up the body of your automation.
Our focus in this post is on setting up the trigger, specifically the "Scheduled Time" trigger. This is a native SmartSuite trigger, which means we don't have to go outside of the SmartSuite environment - we can build it right inside our tool.
When you select the Scheduled Time trigger, it will ask you what table you want to look at. Honestly, I'm not terribly concerned with the table selection here, because if I need to look up more information for future steps in the automation, that can be handled in the action steps. So for me, the table choice doesn't really matter all that much.
What I do care about is the repeating cycle or frequency that we are able to establish. And this is what makes SmartSuite's scheduler trigger so powerful - we have a lot of flexibility in terms of how often we want this automation to recur.
Scheduling Options
SmartSuite offers several options for scheduling your automations:
- Hours
- Days
- Weeks
- Months
- One Time
Let's break these down one by one.
Hourly Schedule
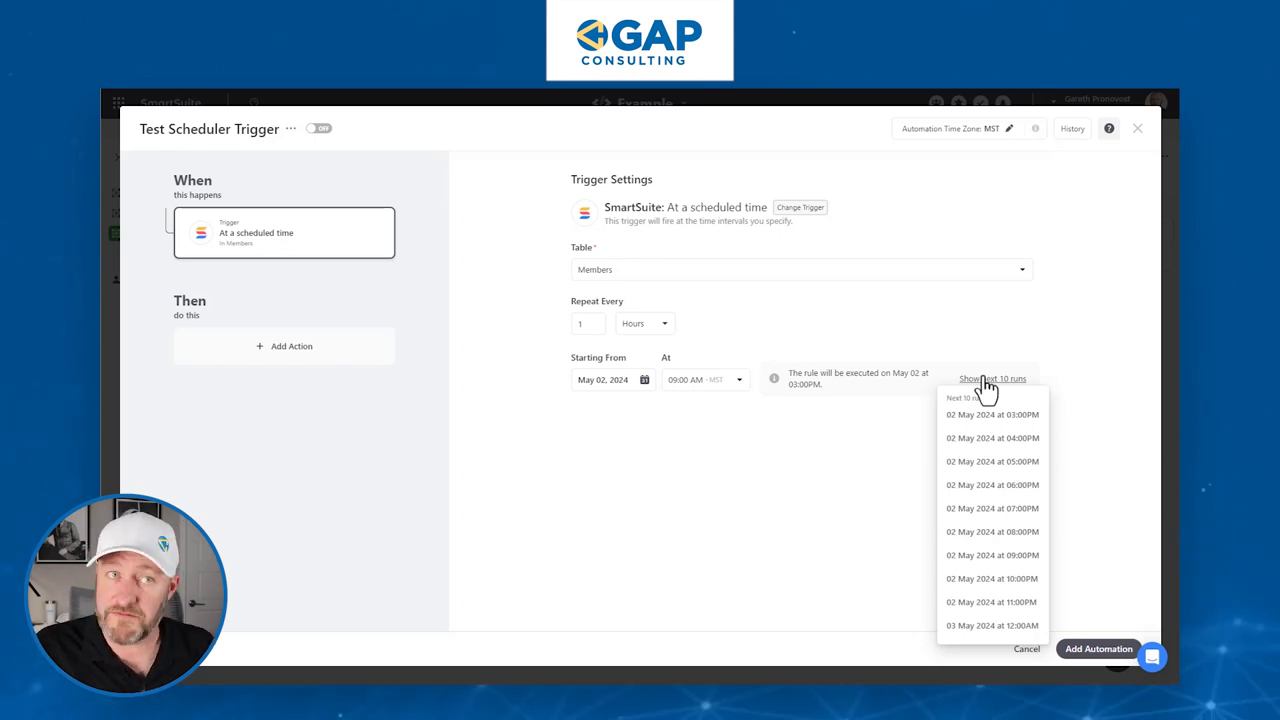
If you choose to repeat your automation every hour, SmartSuite will show you the next scheduled run. For example, if the current time is 2:00 PM, it will show that the next run is going to be at 3:00 PM, then again at 4:00 PM, 5:00 PM, and so on.
One thing to note is that with the hourly option, you don't get a lot of control over skipping specific hours. So unfortunately, you can't come in and say you only want to run this during business hours. If you select hours, it's going to repeat every set number of hours.
But it doesn't have to be every single hour. You can set it to every 2 hours, every 5 hours, every 6 hours, etc. Just keep in mind that you cannot include decimals here. So if you try to put 6.5, it will interpret that as every 65 hours.
Let's look at an example of running an automation every 6 hours. We have 24 hours in a day, so we're going to start seeing the schedule repeating:
- First run at 3:00 PM
- Then at 9:00 PM
- Then at 3:00 AM
- Then at 9:00 AM
- And so on, every 6 hours

So with this setting, your automation would trigger four times a day, literally like clockwork, at these specific hours. Then of course, whatever you set up in your action steps, that's what's going to be performed each time it runs.
Daily Schedule
Moving on to the daily option, here we get to specify that we want our automation to repeat after a certain number of days at a specific time. Because we are not working at an hourly granularity here, we're saying "every X days at a particular time".
So we could say every seven days, which would be once a week. We could say every three days if we wanted to, which is going to be:
- Monday
- Then Thursday
- Then Sunday
- Then Wednesday
- And so on
The key takeaway is that it's going to happen at the same time on each of those days. And we can pick that time with 15-minute granularity. So we could choose 9:00 AM, 8:45 AM, or whatever time we want.
Again, make sure you're looking at when you want the automation to start. If you need to set a start date in the past, you can do that. Let's say we set the start date to May 1st. SmartSuite will say, "Okay, if May 1st was your start date, the next time I iterate will be three days later." That's why it's saying May 4th is when the rule will next be executed, and it shows you the next ten runs from there.
Weekly Schedule
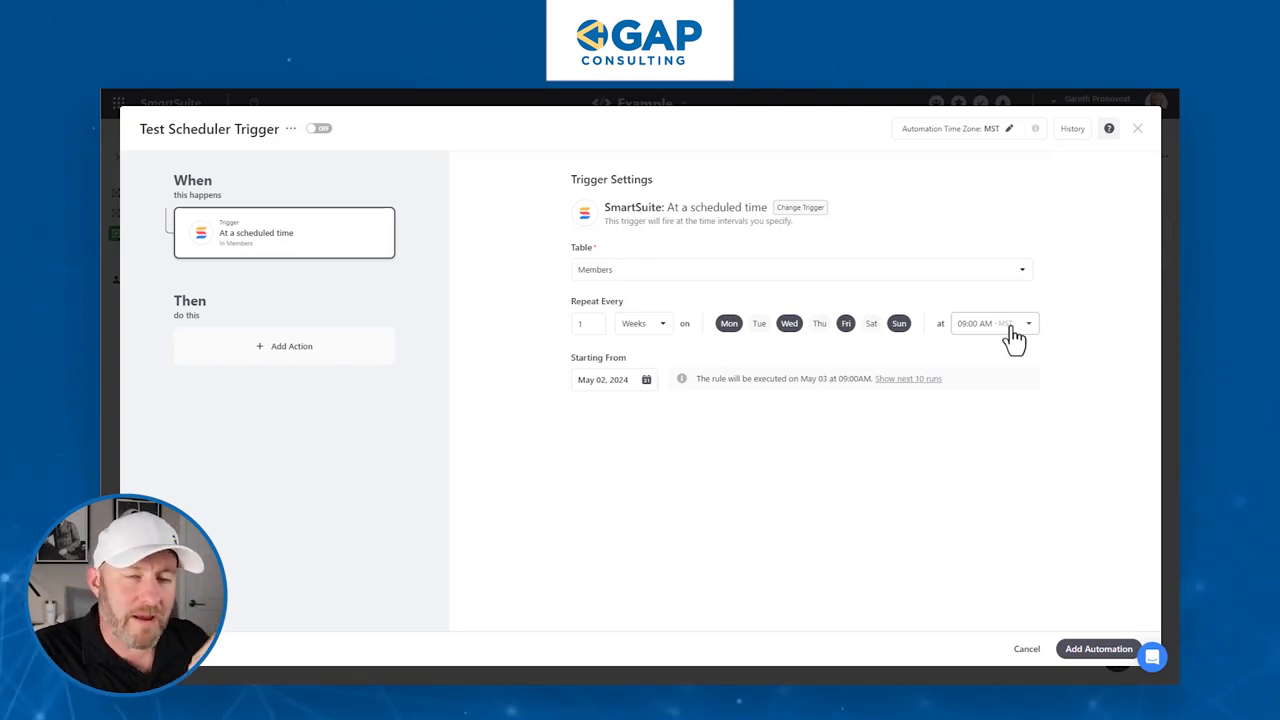
What I find really fascinating with the weekly option is that not only can we set automations to run on a certain cadence of weeks, but we can also specify certain days within those weeks for the automation to run.
For example, let's say we want something to run on Tuesdays and Thursdays, every other week. We would set it to repeat every two weeks, and within those weeks, we want it to run on Tuesdays and Thursdays.
So it would go:
- Week 1: Tuesday & Thursday
- Week 2: Off
- Week 3: Tuesday & Thursday
- Week 4: Off
- And so on
SmartSuite demonstrates this beautifully. If we look at the calendar, let's say starting from May 1st which is in the middle of a week. The following week, May 6th to May 12th, is an off week. Then the next week is an on week, so the automation will run on Tuesday the 14th and Thursday the 16th.
Then it skips the next week, and the following week it's back on for Tuesday and Thursday, which would be the 28th and the 30th.
This shows you how customizable this scheduling tool is. I think we can get really granular with any kind of unusual trigger or frequency we might have in our organization.

Monthly Schedule
Lastly, let's take a look at the monthly option. Here, we can trigger an automation on a specific day of the month.
We could choose to run this automation on the 4th of every month. Or we could select multiple days, like the 4th and the 18th of every month. Again, this gives us a lot of granular control.
But what if we want our automation to run on the last day of every month? Because every month has a different number of days, this could get tricky to set up manually. But with SmartSuite, we don't have to worry about doing any fancy calculations. We can simply select "last day of the month".
So if it's a leap year and the month is February, our automation will run on the 29th. If it's not a leap year, it will run on the 28th of February. For months with 30 or 31 days, it will run on the 30th or 31st, respectively. SmartSuite handles all of that for us.
To experience the future of work management firsthand, start your free SmartSuite trial today!


.jpg)


