


Recently, we came across someone who had a big accounts receivable (AR) problem. If you're not an accountant, you might not know the term accounts receivable or AR, but it basically means that you've provided a service, but you haven't yet collected the money or the revenue that you are owed. So, how do you track this AR problem? Maybe you’re using a tool like QuickBooks or Xero, or maybe you don’t have a way to collect and track your AR yet. In this post, I'll show you how we can build a quick and easy solution to track AR using SmartSuite.
And I kid you not, the very solution and steps that I'm going to show you here are the same thing that recently solved a $1 million AR problem for a no-code user. So, if learning more about this solution interests you, stick around and let's get into it.
Why SmartSuite?
SmartSuite can do a lot for us. We're going to be able to build our database, build automations, and even share that data very selectively with users. Before we get started, I encourage you to open up your own SmartSuite. If you already have an account, pop it up and follow along.
Building the AR Solution from Scratch
Step 1: Setting Up the Basics
I am in SmartSuite. We are going to build this from scratch. Super simple, and we are going one step at a time. First, pop up SmartSuite, recolor it, rename it, and choose a new icon for our solution. Let’s call this solution “Accounts Receivable” and use green.
Great! We’re going to collect money with this thing, so green makes sense. Let's pick a new solution icon too—do we have a money symbol? Perfect! Let’s get at it.
Our accounts receivable solution is now created.
Step 2: Creating Tables
If you're new to no-code databases, the first thing you need to know is that we want to bring in tables or create tables here. Each table is its own set of data. We want to consider what the different sets of data we need to interact with are.
One essential part of this solution is data from our accounting software. In the case of our client, it was QuickBooks. They downloaded a CSV with all the accounts that were unpaid and uploaded that data here into the database. You can do this pretty simply, but as you mature in your no-code expertise, consider building automation to take that information from QuickBooks (or Xero) and populate a solution like this.
Step 3: Understanding Why Not Just Use QuickBooks
You might be wondering, why not just use QuickBooks for this? Simple: customization. You can't really customize the emails that come from QuickBooks with a high touchpoint. Our client needed highly personalized emails for each user.
Building the Customized AR Solution in SmartSuite
Setting Up the Contacts Table
The first table we need is contacts. Contacts are pretty straightforward—most databases have some element of user or contact.
- Remove Unnecessary Fields: First, delete the default fields (assigned to, due date) that come into existence when a new SmartSuite project or table is created.
- Create Fields: Build a full name field (first and last name) and an email field. Ensure emails are unique.
- Auto Generate Titles: Set the title to auto-generate using the full name.
Here’s an example:
Full Name: Gareth PronovostEmail: gareth@example.com
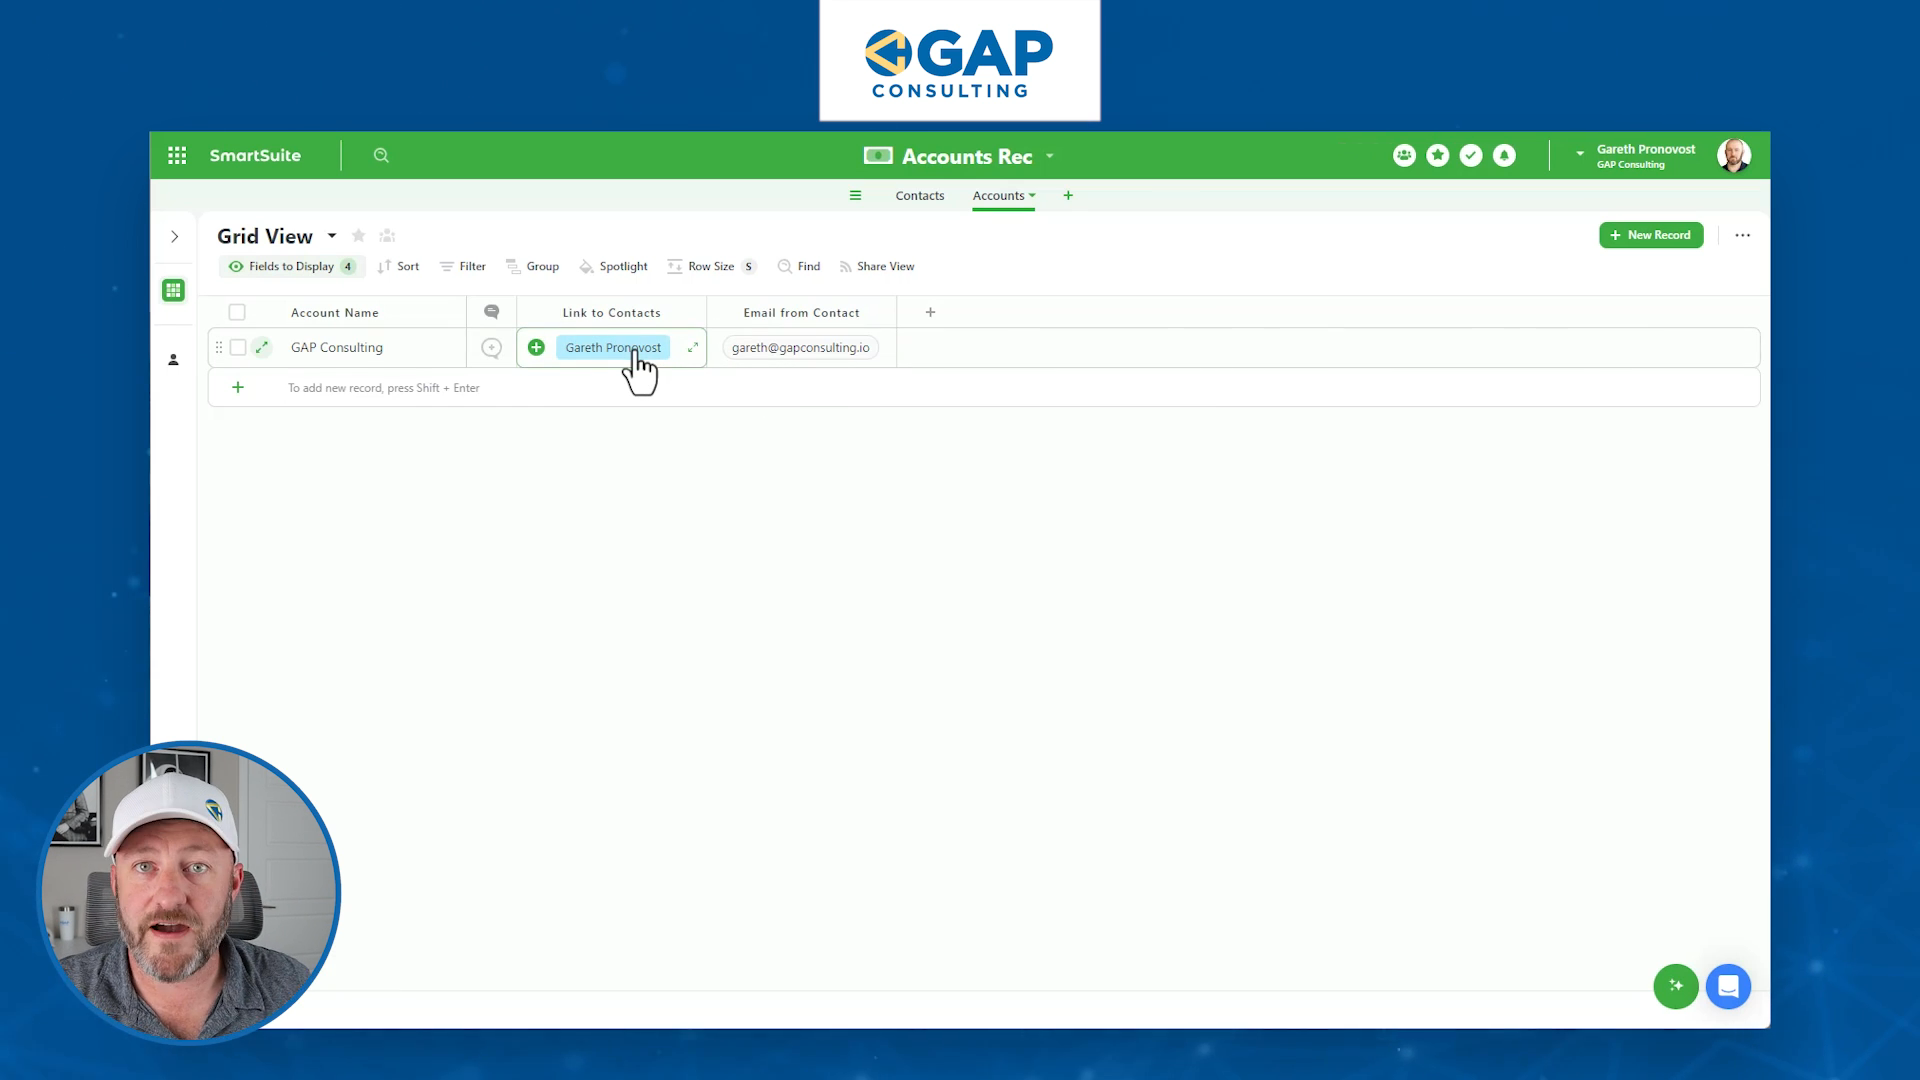
Setting Up the Accounts Table
Now create the second table—accounts. This will be who you're working with.
- Remove Unnecessary Fields: Similar to last time, delete the default fields or filter them out of the display.
- Link to Contacts: Link the accounts table to the contacts table, allowing it to link to multiple records (meaning multiple contacts can connect to one account).
- Lookup Fields: Create a lookup field to pull in the email associated with the billing contact.
Accounts might look something like this:
Account Name: Gap ConsultingContact Linked: Gareth PronovostEmail: gareth@example.com
Setting Up the Accounts Receivable (AR) Table
Create the third table, AR (Accounts Receivable):
- Remove Unnecessary Fields: Again, delete or filter out irrelevant fields.
- Create Necessary Fields: Create fields for the amount due, date due, and status.
- Link to Accounts: Link this table to the accounts table.
Here's an example:
Account: Gap ConsultingAmount Due: $150Date Due: August 1Status: Overdue
Repeat for any additional entries, ensuring all pertinent details are linked accordingly.
Automating and Summing Up Information
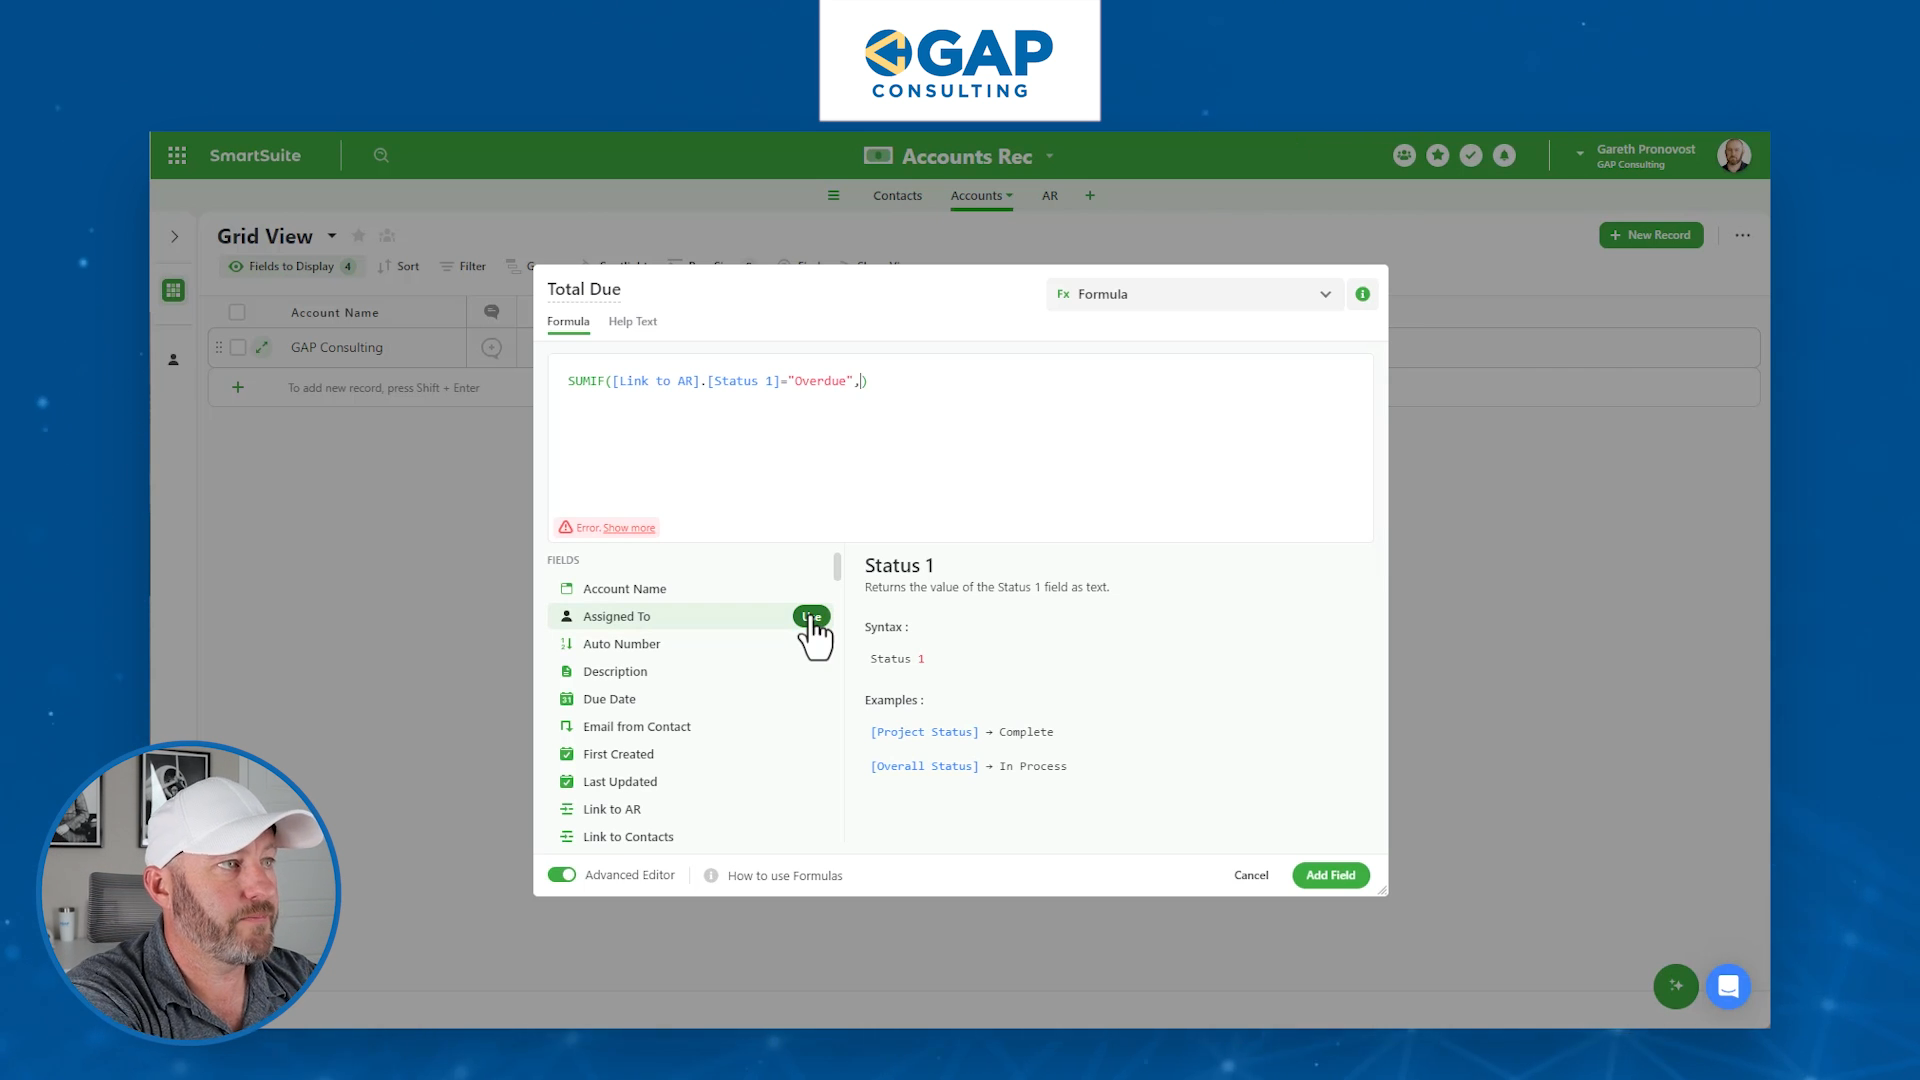
Summing Up Overdue Amounts
You can use a formula to sum overdue amounts:
Formula: SUMIF(AR.Status = "Overdue", AR.Amount)
This calculation will update dynamically as statuses change.
Handling Collection Attempts
Create a final table for collection attempts:
- Remove Unnecessary Fields: As usual, ditch what you don’t need.
- Create Fields: Set up fields for linking to AR and email.
- Automate Emails: Use SmartSuite’s email features to track communication attempts directly within the database.
Sending Custom Emails
- Enable Email Settings: Ensure emails are enabled in SmartSuite’s settings.
- Compose Emails: Use the communication center to send and receive emails straight from SmartSuite, tracking everything in one place.
Using Templates
Utilize email templates for different collection stages. This way, you can escalate your messaging smoothly and keep everything organized.

Conclusion: Solving the $1M AR Problem
I hope you got tons of value from this walkthrough! Managing AR doesn’t have to be overly complicated. With SmartSuite, you can build a customizable, automated solution that fits your specific needs.


.jpg)


