


Today, we have an exhilarating announcement about a new feature in SmartSuite that will simplify the way you create documents from your SmartSuite data. Imagine not having to manually create documents from a template. That's right, you can now automate the entire process and store the final PDF back in your database solution or even share it externally via email.
Introducing SmartSuite's New Automation Feature
Creating documents from stored data has always been a grueling task, often requiring third-party tools and manual intervention. With SmartSuite's latest feature, you can now automatically generate documents from your SmartSuite data and manage them seamlessly. Here's a quick overview of what you can achieve:
- Automate Document Creation: No more manual interventions.
- Store PDFs Back in SmartSuite: Effortlessly keep your documents organized.
- Share Externally via Email: Easily send documents to your customers or stakeholders.
Why This Feature is a Game Changer
Before we dive into how to set this up, let's discuss why this feature stands out:
- No Code Required: Perfect for those who use no-code tools.
- All-in-One Solution: Everything is now in SmartSuite—no need for third-party applications.
- Ease of Use: Just a few simple steps, and you're all set!
Getting Started with SmartSuite's Automation Feature
If you haven't signed up for SmartSuite yet, consider doing so with our affiliate link. It's a great way to show some love and support for our channel. Once you're signed up, install the appropriate template from SmartSuite Universe. For this tutorial, we're using an Orders and Invoicing template.
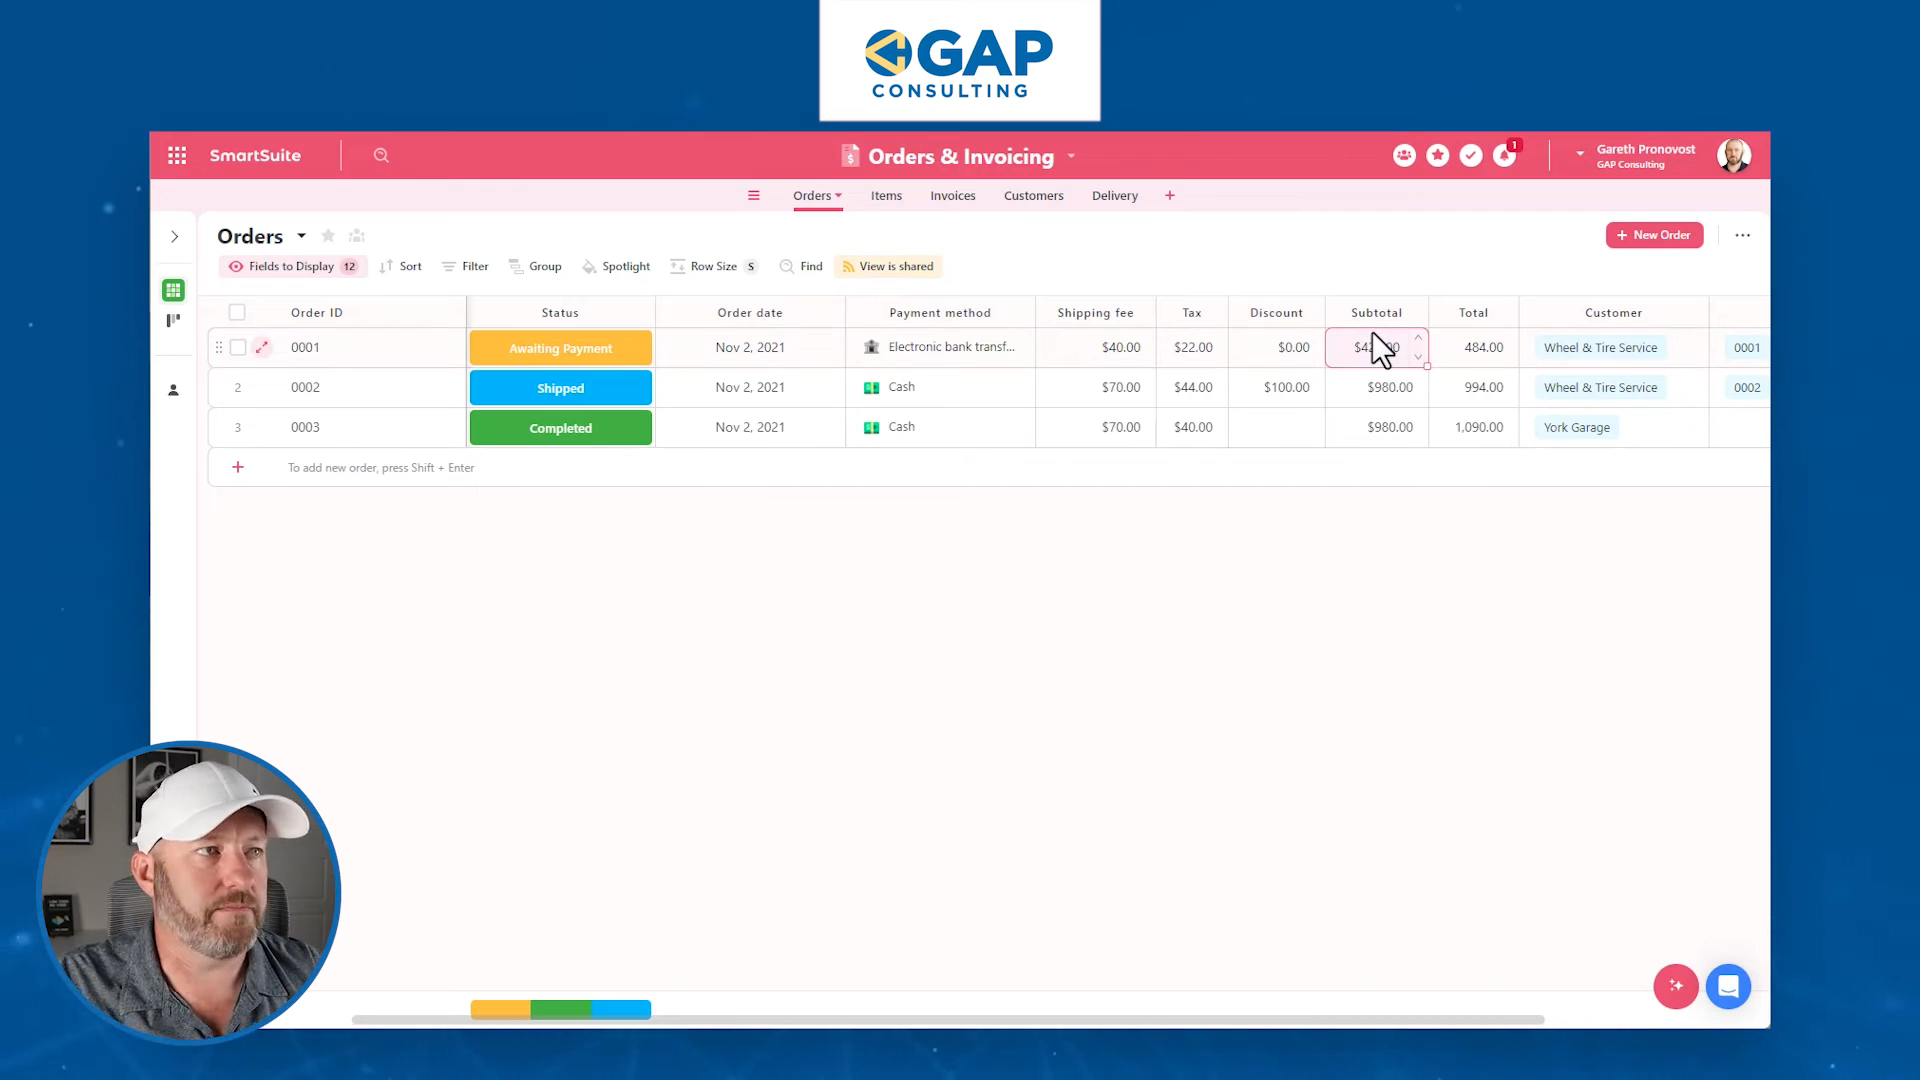
High-Level View: What We're Working With
Here, at a high level, is what our template includes:
- Customers: Details include email, phone number, address, and even logos.
- Invoices: These are linked to orders, so you can track everything sold.
- Orders: Each order is linked to a customer and delivery information.
Customers Table- Email- Phone Number- Address- Logos
Orders Table- Customer- Delivery Information- Linked to Invoices
Invoices Table- Linked to Orders- Itemized Lists
Adding Flexibility: Creating a New Table for Items
The current setup uses sub-items, which, although effective, lacks the flexibility needed for more complex operations like creating formulas. Let's create a new table named Items to solve this.
Steps to Create an Items Table
- Delete Unnecessary Default Fields: Clear out the default fields we won’t be using.
- Create New Fields:
- Order Link: Using a linked record to the Orders table.
- Item Description: Text field.
- Quantity: Number field (whole numbers only).
- Price per Unit: Currency field.
- Subtotal: A formula field calculating (Quantity * Price per Unit).
Items Table- Link to Orders- Item Description- Quantity- Price per Unit- Subtotal (Calculated Field)
This new setup allows us to update subtotals dynamically, making it easier to calculate totals and other metrics accurately.
Linking Items to Orders
Now that the Items table is set, let's link it to our Orders table. Delete the existing sub-items field and link the new Items table instead. This setup not only simplifies the management of items but also enhances the ability to generate accurate totals.
Updating Orders Table with Items Link- Remove Sub-items Field- Link to Items Table- Calculate Subtotals using Formulas
Updating Subtotals in Orders Table
To ensure we always have accurate subtotals, link fields from the Items table to the Orders table. Then, use a formula to sum these subtotals.
Formula for Subtotal in Orders TableSubtotal = SUM(Link to Items: Subtotal)
This ensures that whenever you add or update an item, the subtotal in the order updates automatically.
Designing the Invoice Document
Now, let's get into the fun part—designing our invoice. Head over to the Invoices table and go to Document Designer. Here, you can drag and drop elements into the template.
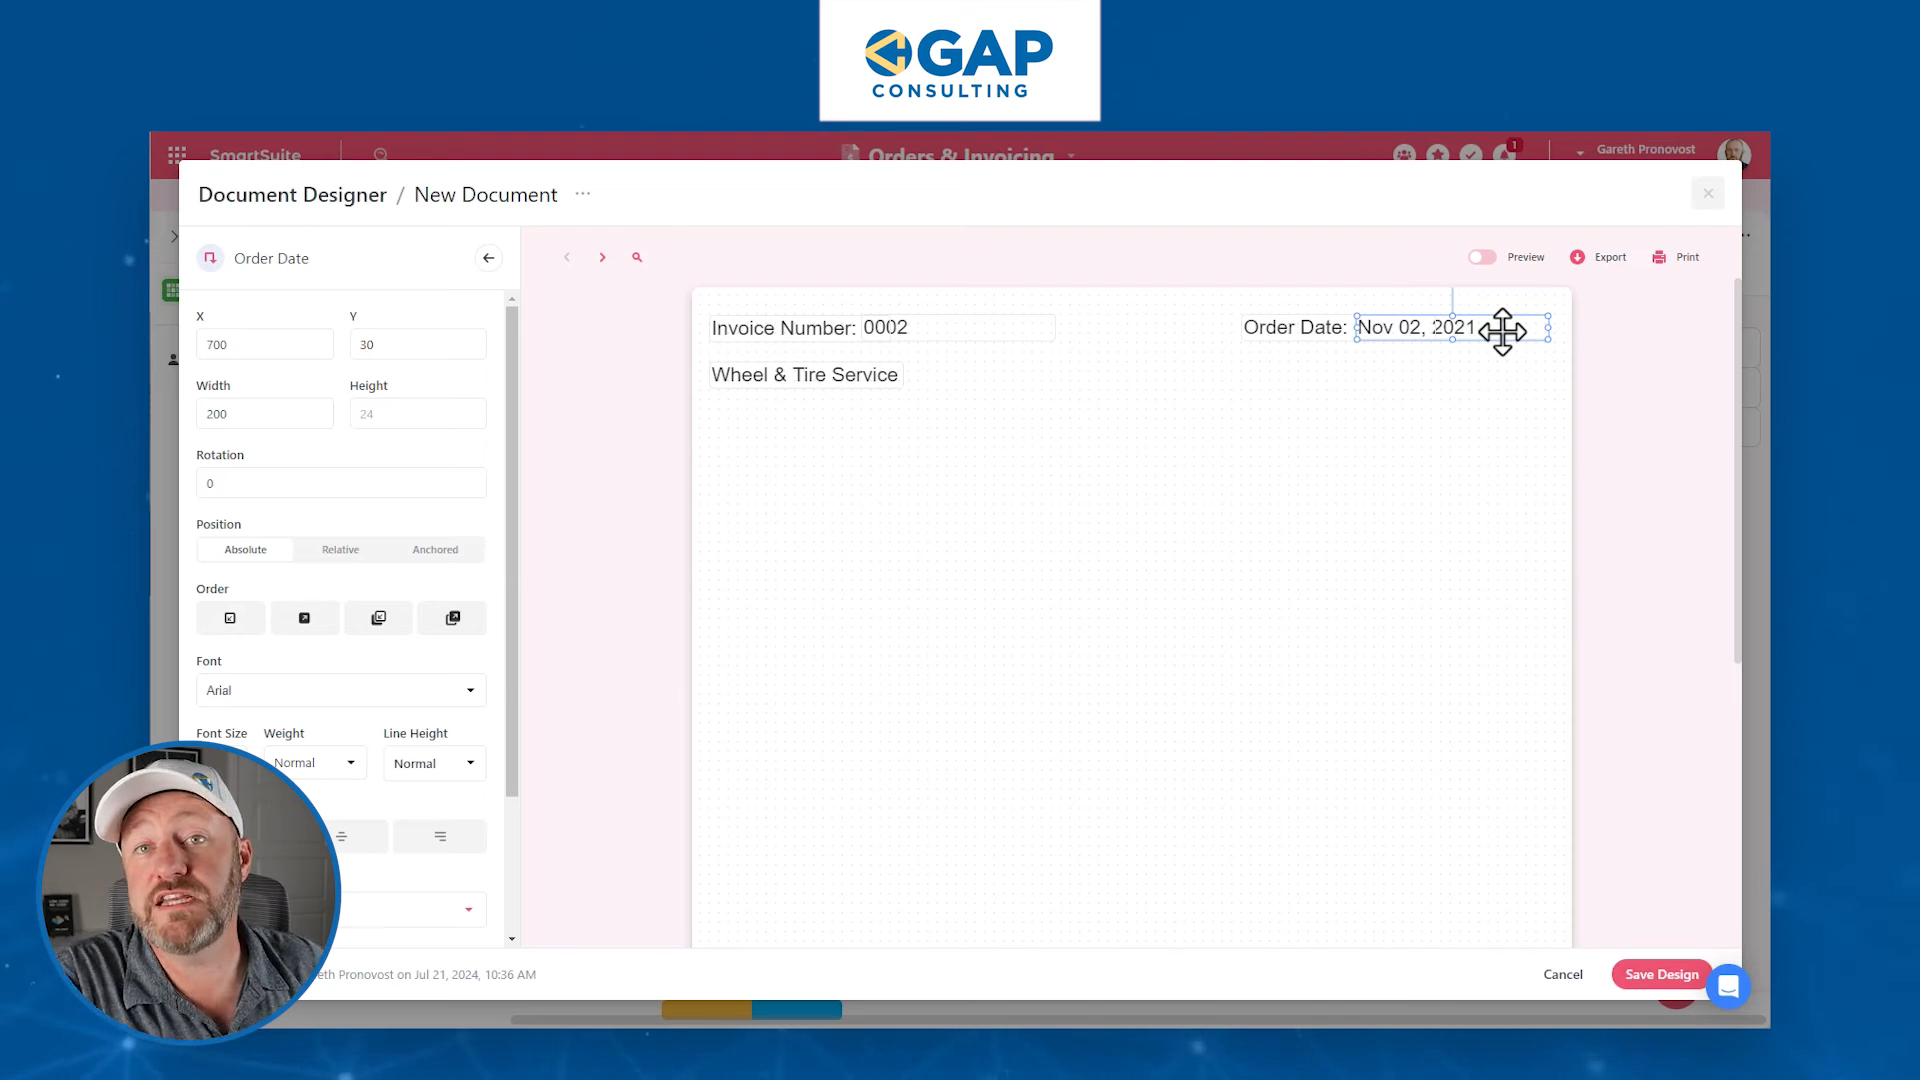
Elements to Include:
- Customer Details: Name, email, etc.
- Order Details: Order ID, date, etc.
- Itemized List: Items, quantity, price, and subtotal.
- Additional Fees: Shipping fee, tax, and discounts.
Anchoring Elements
To ensure that elements like tax, shipping fee, and subtotal come directly after the itemized list, use anchoring. This keeps your document looking clean and professional.
Anchoring Syntax- Tax (Anchor to Itemized List)- Shipping Fee (Anchor to Tax)- Discount (Anchor to Shipping Fee)- Total (Anchor to Discount)
Automating the Document Creation
Finally, the pièce de résistance: automating the document creation. We'll use SmartSuite's built-in automation features to make this happen.
Steps to Automate Document Creation
- Create a Boolean Field: This field will trigger the automation.
- Set Up a File Field: Store the generated invoice PDFs here.
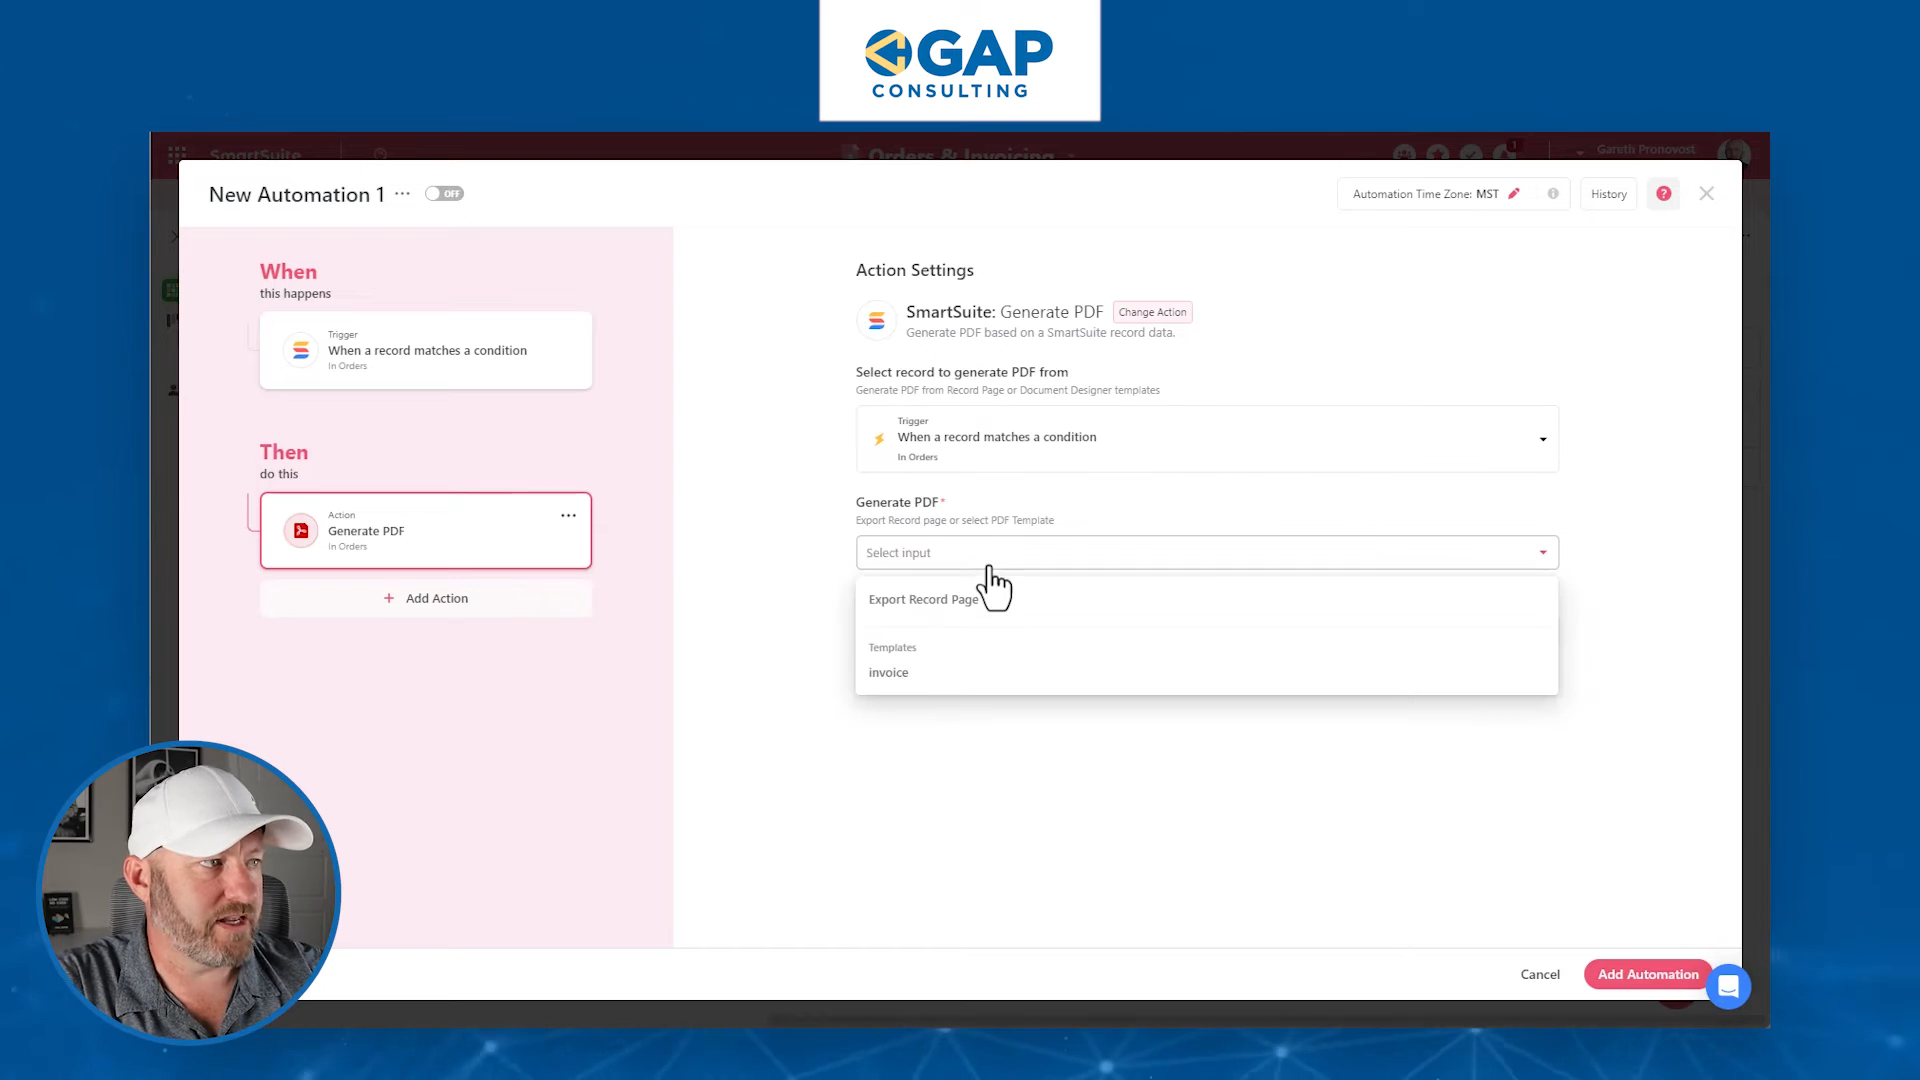
- Build the Automation:
- Set the trigger to the Boolean field.
- Use the Generate PDF action.
- Store the generated PDF back in SmartSuite.
Boolean Field- Name: Create Document
File Field- Name: Invoice PDF
Automation Steps:
Trigger:
When Boolean Field (Create Document) is set to Yes.
Action: Generate PDF from the designed template.
Save: Store the PDF in the Invoice PDF field.
Wrapping Up
With this new feature in SmartSuite, generating and managing documents has never been easier. Whether you're dealing with invoices, reports, or any other documents, you can now automate the entire process and keep everything centralized within SmartSuite.


.jpg)


