As the world of no-code solutions rapidly expands, SmartSuite emerges as a frontrunner, simplifying the way we manage projects and collaborate with teams. Permissions – an integral part of maintaining control over your SmartSuite solutions – are fundamental to ensuring collaborative efficacy and data safety. Stick around, and we’ll walk you through a beginner's journey into SmartSuite permissions.
A Warm Welcome to the SmartSuite family!
If it's your first venture into our world or you're seeking to fine-tune your sharing strategies, allow us to guide your journey with SmartSuite's permission features. Whether you're a seasoned user ready to deepen your toolkit or considering joining our community, this guide is tailored for you.
Here's a tip: Sign up for a SmartSuite account through the link below this blog and start your free trial today! Plus, score some exclusive SmartSuite swag upon upgrading to a paid plan.
Now, let's dive deep into permissions for an effortless and secure sharing experience.
Setting the Stage: Permissions Explained
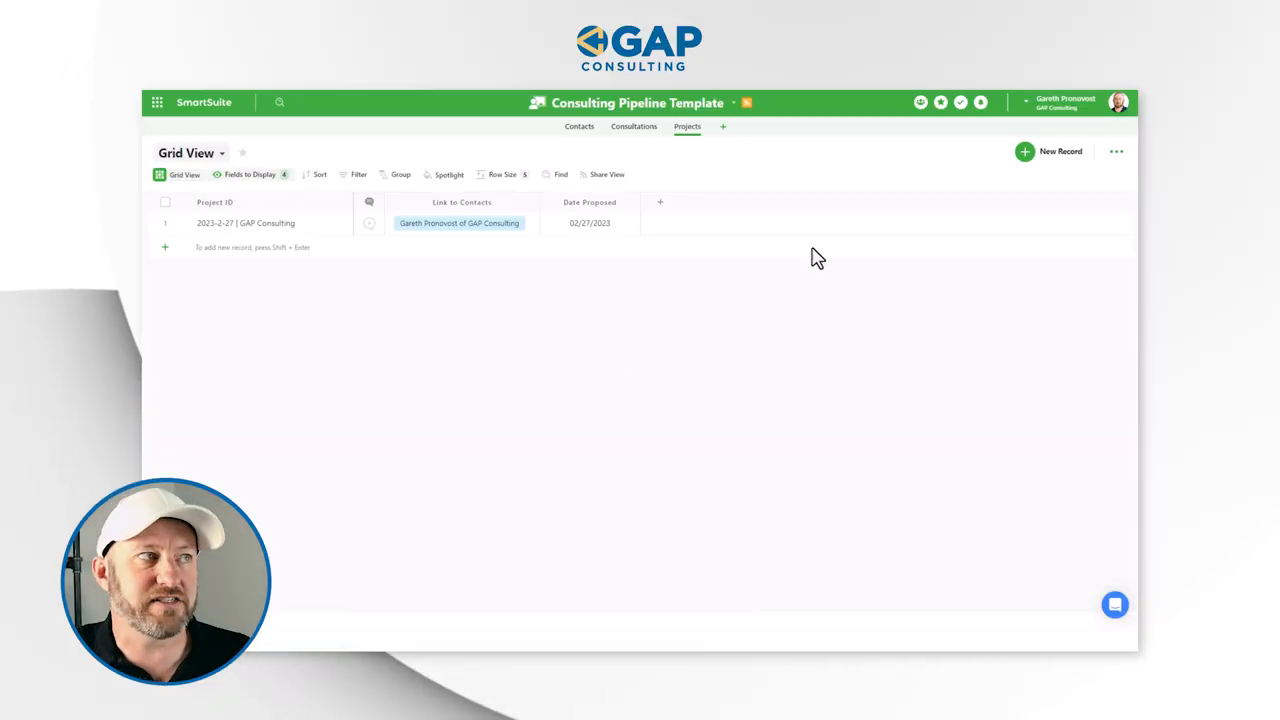
Let's take a hypothetical consulting pipeline template, comprising contact info, consultation outcomes, and project details—perfect for showcasing how permissions influence data sharing and team collaboration.
Inviting New Members

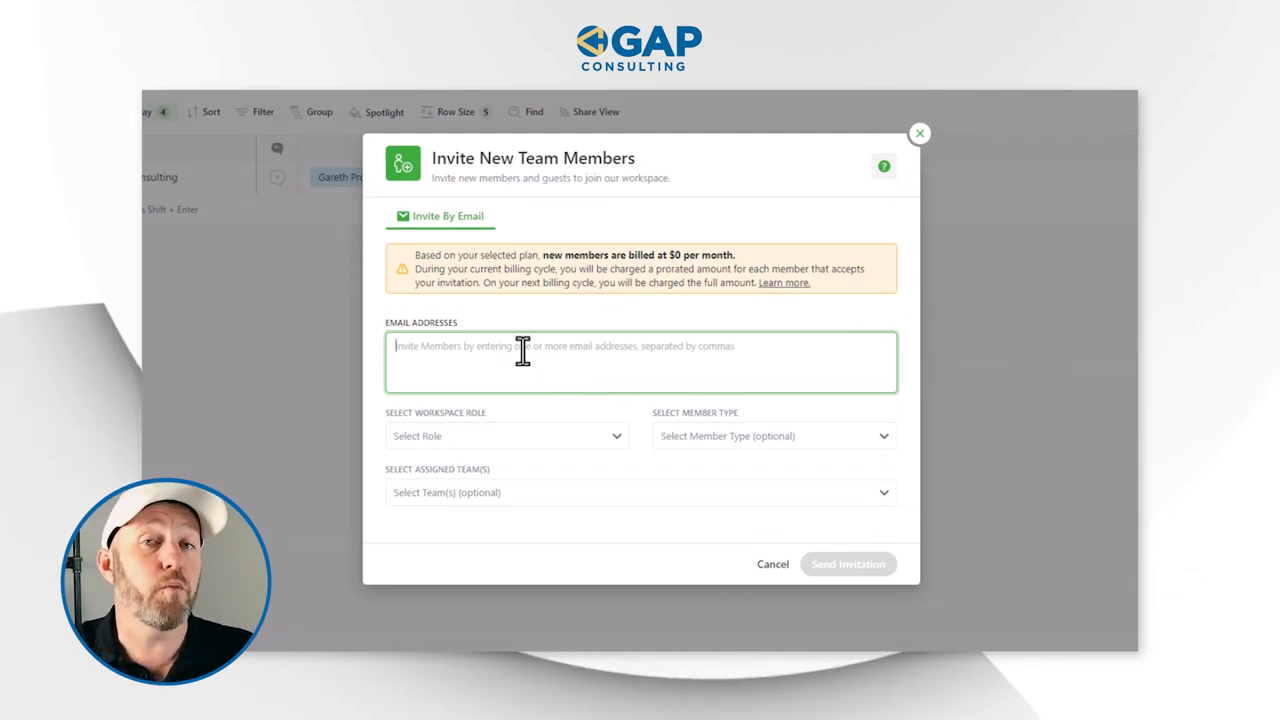
Step 1: Invite team members to your SmartSuite workspace
- Navigate to 'Account' and select 'Invite new members.'
- Enter the email of the person you're inviting.
Important: Invited members will incur a charge unless assigned as a 'Guest', who have free, view-only access.

## Roles and Their Reach
SmartSuite Roles 101: Find the perfect fit
- Guests: Read-only access, at no cost.
- General Access: Access to solutions they've been given rights to.
- Solution Creators: Authority to create solutions in addition to general access.
- Account Admins: Full privileges to manage members and solutions.
Tailor permissions to suit the expertise and responsibilities of your team members, keeping in mind the fine balance between access and control.
Streamlining Teams and Onboarding
Efficient alignment with team-specific solutions
- Assign invited members to teams for pre-defined access to relevant applications.

Fine-Tuning Solution and Application Permissions
Advanced Permissions: Your barrier against unintended access
- Solution Level Permissions: Controls who can access the entire solution.
- Table Level Permissions: Go granular by setting rights to individual tables within a solution.

Levels of Access:
- From "Viewer" to "Full Access", choose how much control each member or team has.

The Devil is in the Details: Field-Level Permissions
Empower or Restrict? You decide.
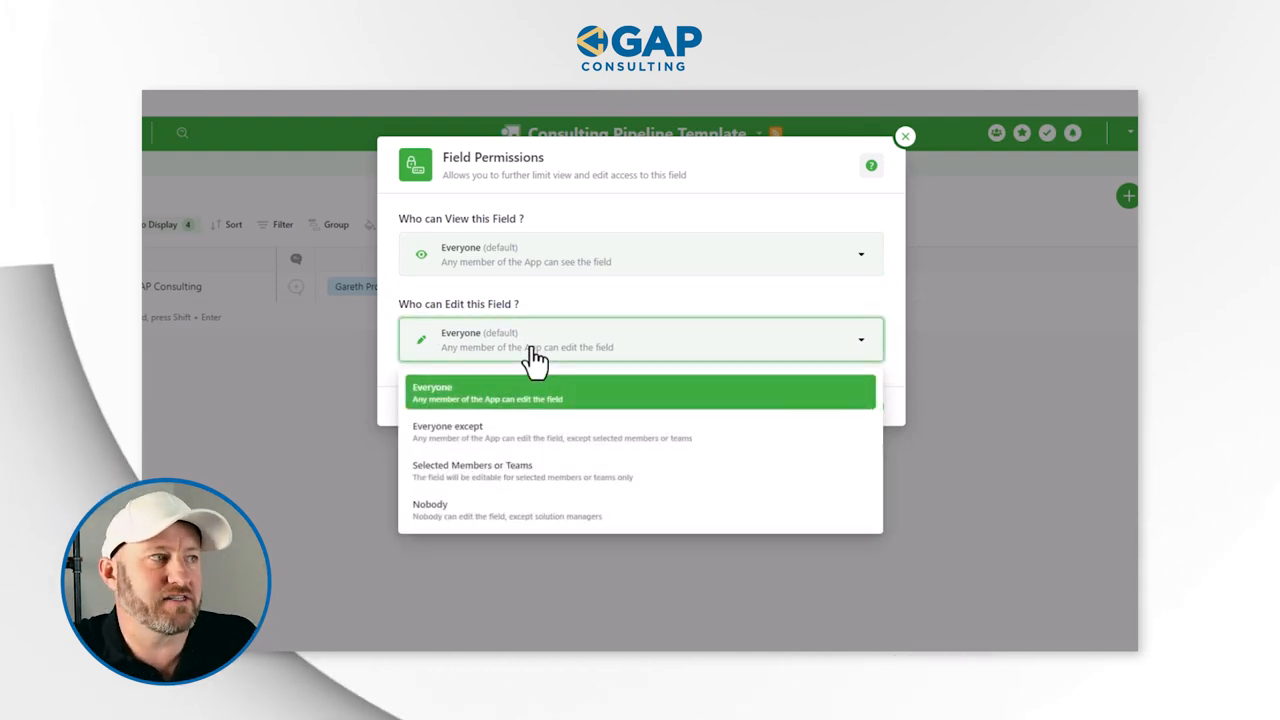
- Field-Level Permissions: Set viewing and editing rights for specific data fields.
- Controlling Visibility and Edits: Protect sensitive information like salaries or contact details.

Remember: The highest level of permission supersedes lesser ones, so plan thoughtfully.
Ensuring Security Across Dashboards
Rest easy: Sensitive data remains just that.
- Your dashboards respect the same permissions as your solutions and applications. Hidden fields remain hidden everywhere.
Wrapping It Up
Whether building new solutions or refining your existing setup, understanding permissions gives you an upper hand in managing your SmartSuite effectively.
If questions loom or curiosity strikes, drop them in the comments below. And don't forget, for more insightful no-code essentials, subscribe to our updates.
Ready to organize and elevate your project management experience? Start your free SmartSuite trial today!


.jpg)


