Welcome back! As someone passionate about the magic and practicality of no-code solutions, today we delve into an often overlooked feature of data sharing within SmartSuite — crafting read-only views for external and internal use. Whether you’re here to fine-tune your workflow or just curious about the possibilities, you’ve landed in the right place!
Overview
In the ever-evolving landscape of project management and data handling, SmartSuite emerges as a powerhouse for no-code automation and database management. A fascinating aspect of utilizing this tool is the ability to share views — a feature crucial for collaborative work environments or when needing to present data to external stakeholders without relinquishing control over the original data inputs.
SmartSuite isn't just for heavy database manipulations; it excels in creating user-friendly, read-only views that are both secure and easy to manage. Let’s break down the process and look at some practical implications of this feature.
Getting Started with SmartSuite
If you're either a seasoned pro or just starting out with SmartSuite, you’ll find that setting up a read-only view is straightforward but powerful. Join me as we explore a typical use case: an event planning scenario.
Setting Up Our Workspace
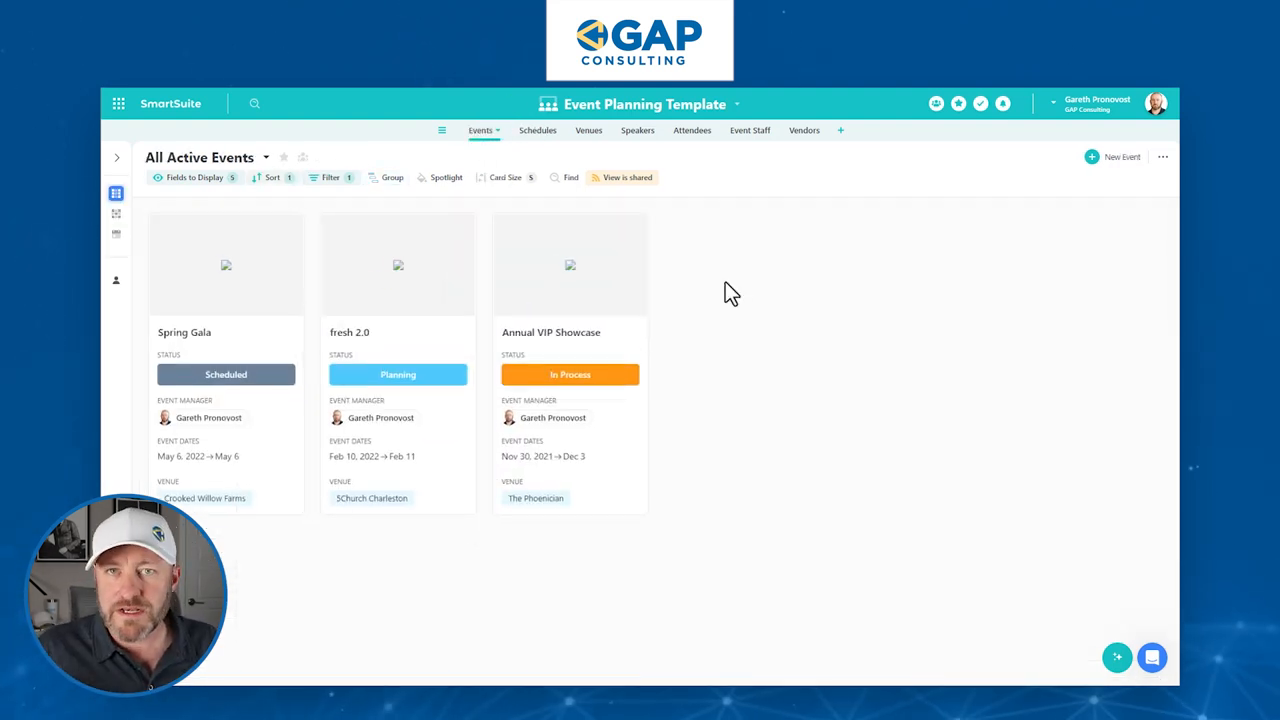
Firstly, ensure you have the event planning template installed. You can grab it directly from the SmartSuite template gallery. This template beautifully organizes various aspects of an event such as venues, schedules, and attendees into an interconnected database.
The Fundamental Setup
Here's a quick rundown of our setup:
- Events: Central to our planning, containing all major details.
- Schedules: Broken down into sessions or phases of an event.
- Venues and Speakers: Linked to schedules for coherent event flow.
Let’s take a closer look at how these elements interconnect:
"SmartSuite allows a seamless integration of various data facets, making the management of complex events feel like a breeze."

Creating a Read-Only View
Step-by-Step Guide
- Navigate to Schedules: Start by examining the schedules lined up for your events.
- Create a New View: Opt for a grid view to keep things organized and familiar.
- Customization: Bring in essential columns like time slots, locations, and speakers. The customization options are ample, ensuring you only display what is necessary.
- Filtering and Sorting: Apply filters to display only relevant events. Additionally, sorting by time slots helps in maintaining a chronological flow.
- Link Field Addition: Back in the events database, add a new field for storing the URL of our newly created read-only view. This URL will be unique to each event, allowing specific access per event basis.

Securing and Sharing the View
Once your view is tailored and ready:
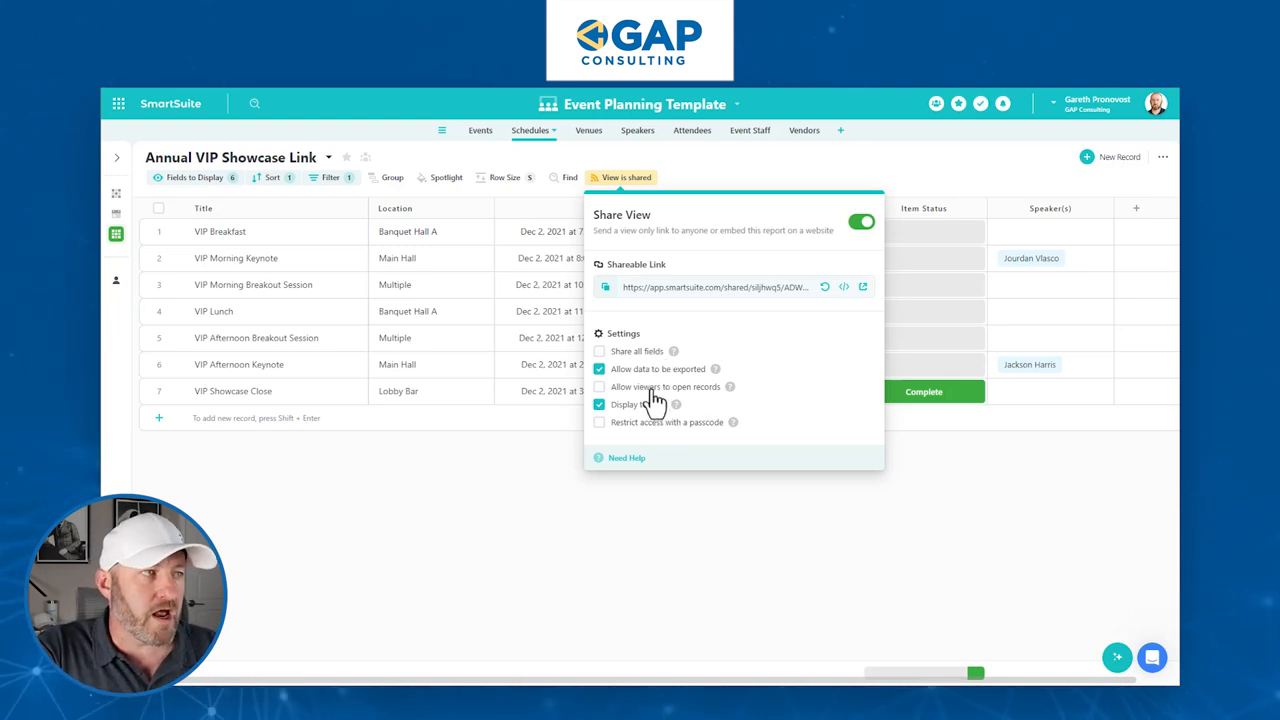
- Activate Sharing: Ensure the view is shareable by toggling on the sharing feature in SmartSuite.
- Set Permissions: Decide whether users can export the data or manipulate the view.
- Passcode Protection: For added security, restrict access by enabling a passcode.
Here’s an example of setting up a passcode:
Passcode: 123456
Practical Application
Imagine you’re organizing an event and need to provide your staff with quick access to the schedule. Instead of sending out complex spreadsheets or multiple emails, a secured link to a read-only view keeps everyone informed and on track. It simplifies communication, enhances efficiency, and focuses only on the requisite details.
Adding a Button for Ease of Access
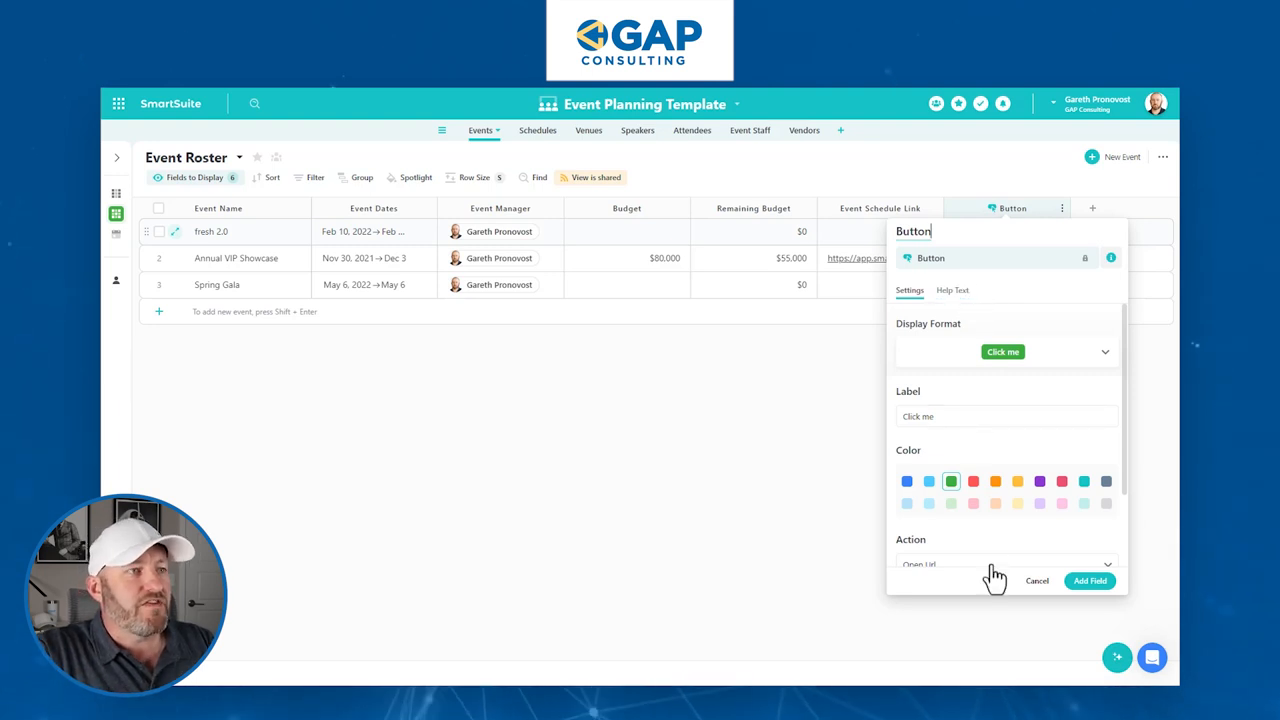
To further enhance usability, consider embedding a button directly within the main event dashboard that links to the read-only schedule. This single-click solution streamlines the process and offers a polished, professional touch to your event management toolkit.
Button Setup: [Configure a button to open the linked schedule view directly.]

Conclusion
SmartSuite’s ability to create and share read-only views not only protects your core data but also simplifies information dissemination, making it an indispensable feature for managers, team leaders, or event coordinators.
Remember, while technology offers us powerful tools, it's how we use these tools that truly transforms our workflows. Implement these steps, explore the possibilities, and watch as your event management process becomes more streamlined than ever.
I hope this guide serves you well. For more tips and detailed walk-throughs, don’t hesitate to connect. Keep building, keep sharing, and most importantly, keep optimizing!
To experience the future of work management firsthand, start your free SmartSuite trial today!


.jpg)


